Figma libraries setup
Reshaped Figma library is published in the Figma Community and is available to all users. You can open it to see the library internals and publish it to your team as a central design system.
Start by opening the latest version on the Figma Community to check out the components and design tokens setup.
We're using the Inter font family as the default font, and it might not be preinstalled on all machines when using code components. During development, ensure that Inter is enabled in React. Otherwise, Reshaped will fall back to system fonts, or you can change the font values using theming.
Open each library, click on the file name’s dropdown, and select “Publish library”. This will make components and styles available to other members of your team.

Libraries are available only in Figma paid plans. In case you're using a free plan, you can design your product right in the same file containing Reshaped components.
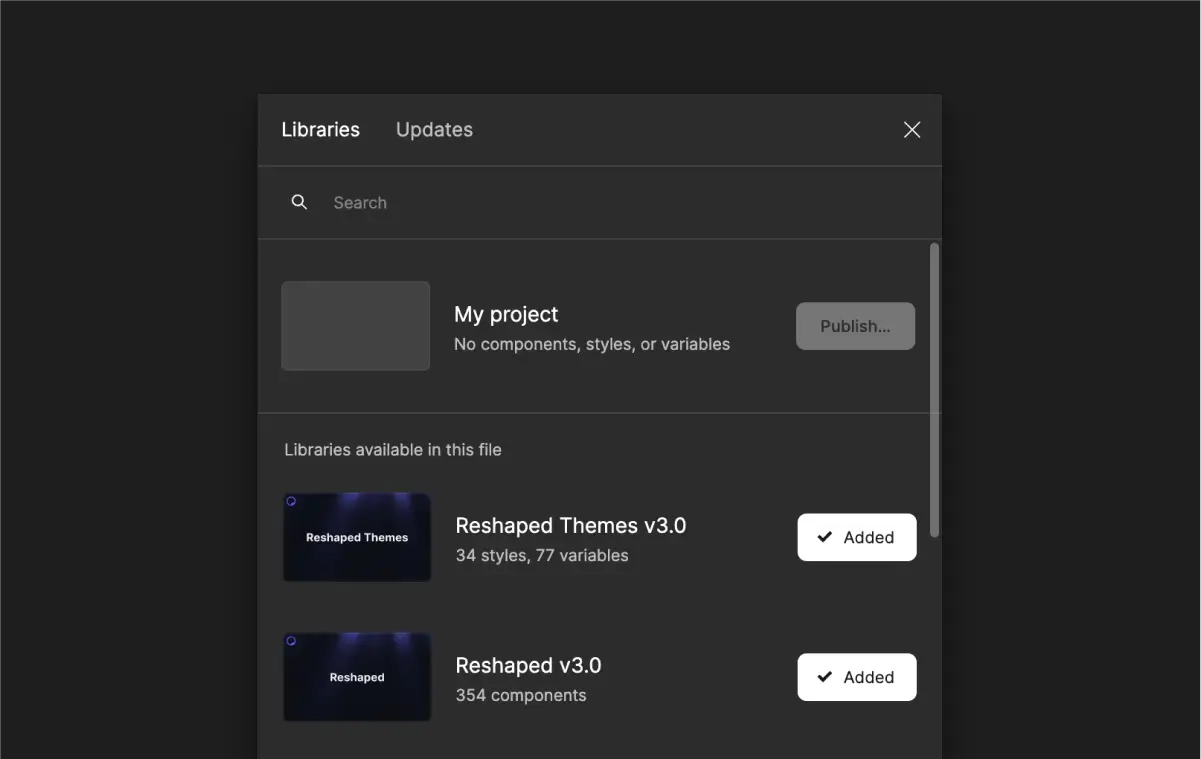
Open a Figma file where you want to use Reshaped. Go to the Assets tab, click on the Library icon, and enable the Reshaped library.
In the Figma team management settings, you can enable Reshaped to be always installed for everyone in your team by default.
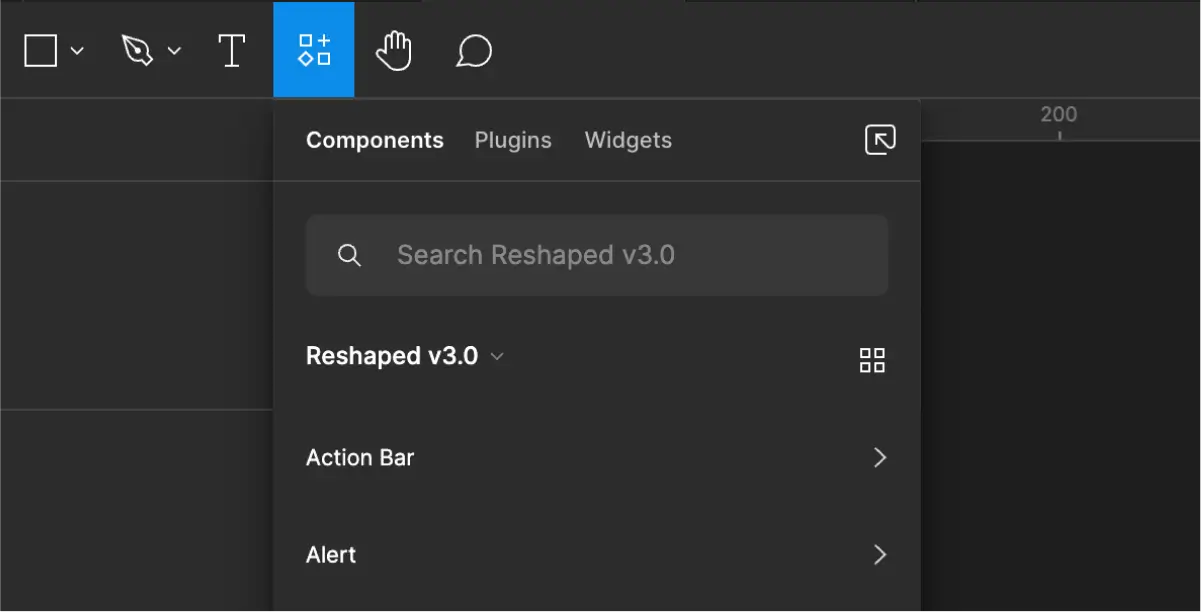
Start using components with the top bar Resources action or from the Assets tab in the left sidebar. Avoid detaching components to ensure you receive upcoming Reshaped updates.
Use Figma styles instead of hard-coded values for typography and effects.
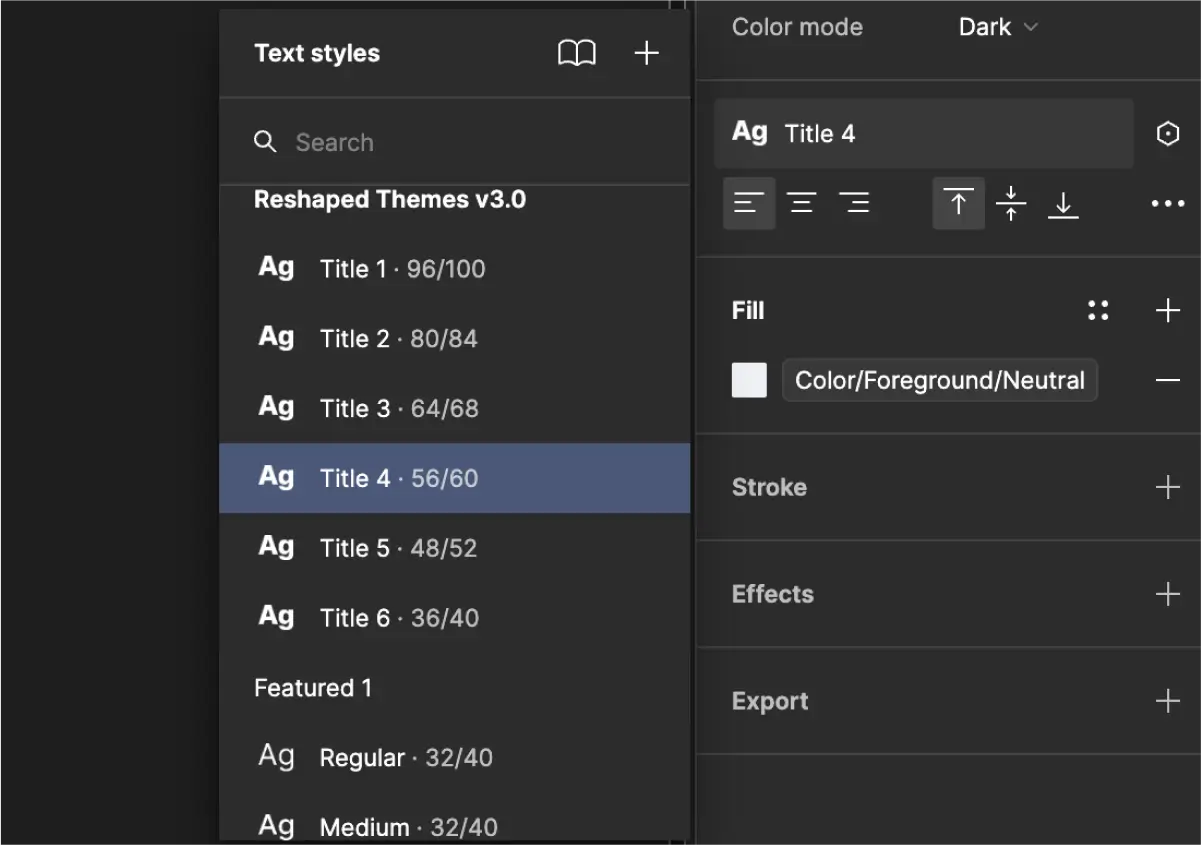
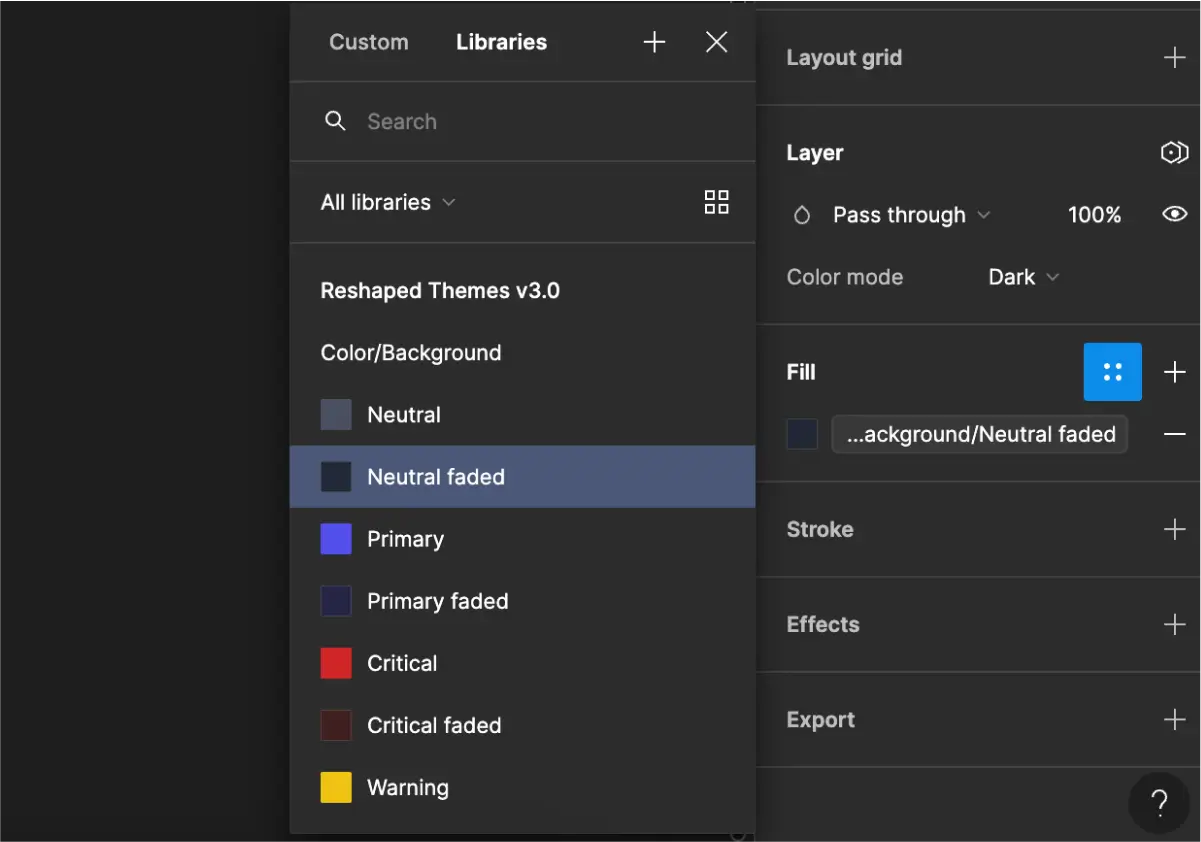
Use Figma variables to control colors, border-radius and spacing values to ensure your custom components are fully themeable. This way, you'll maintain automatic support for dark mode and keep accessible color combinations.
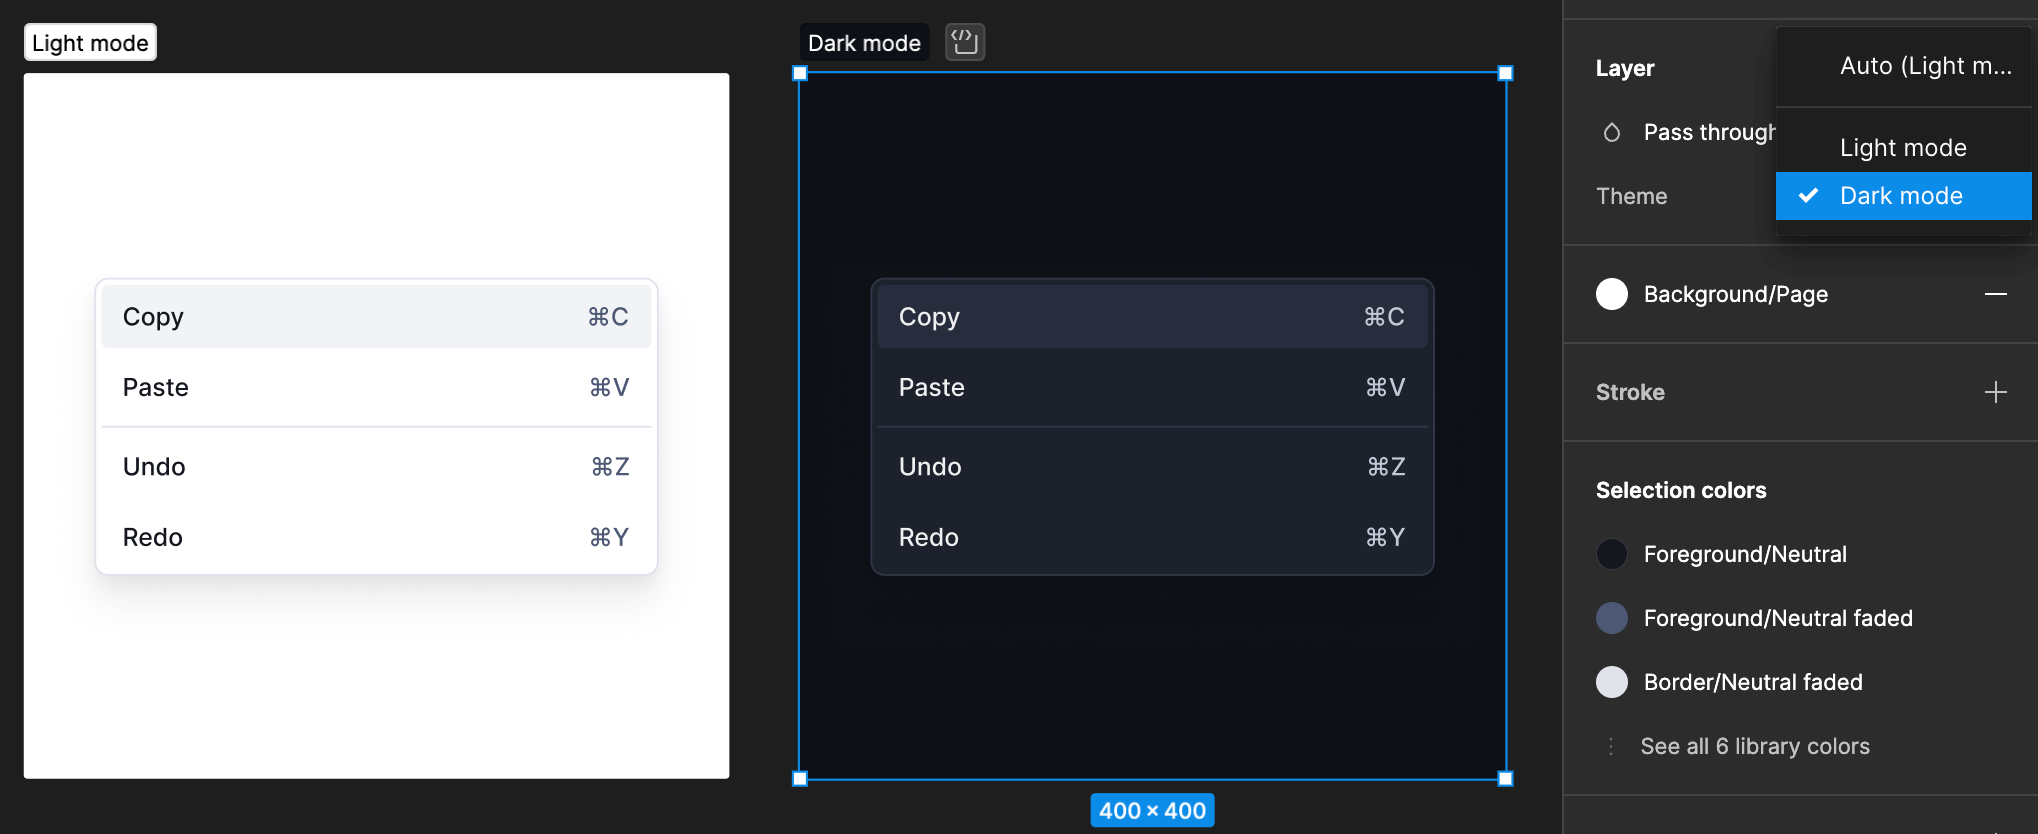
You can test your design in light and dark mode by switching modes on the selected layers.
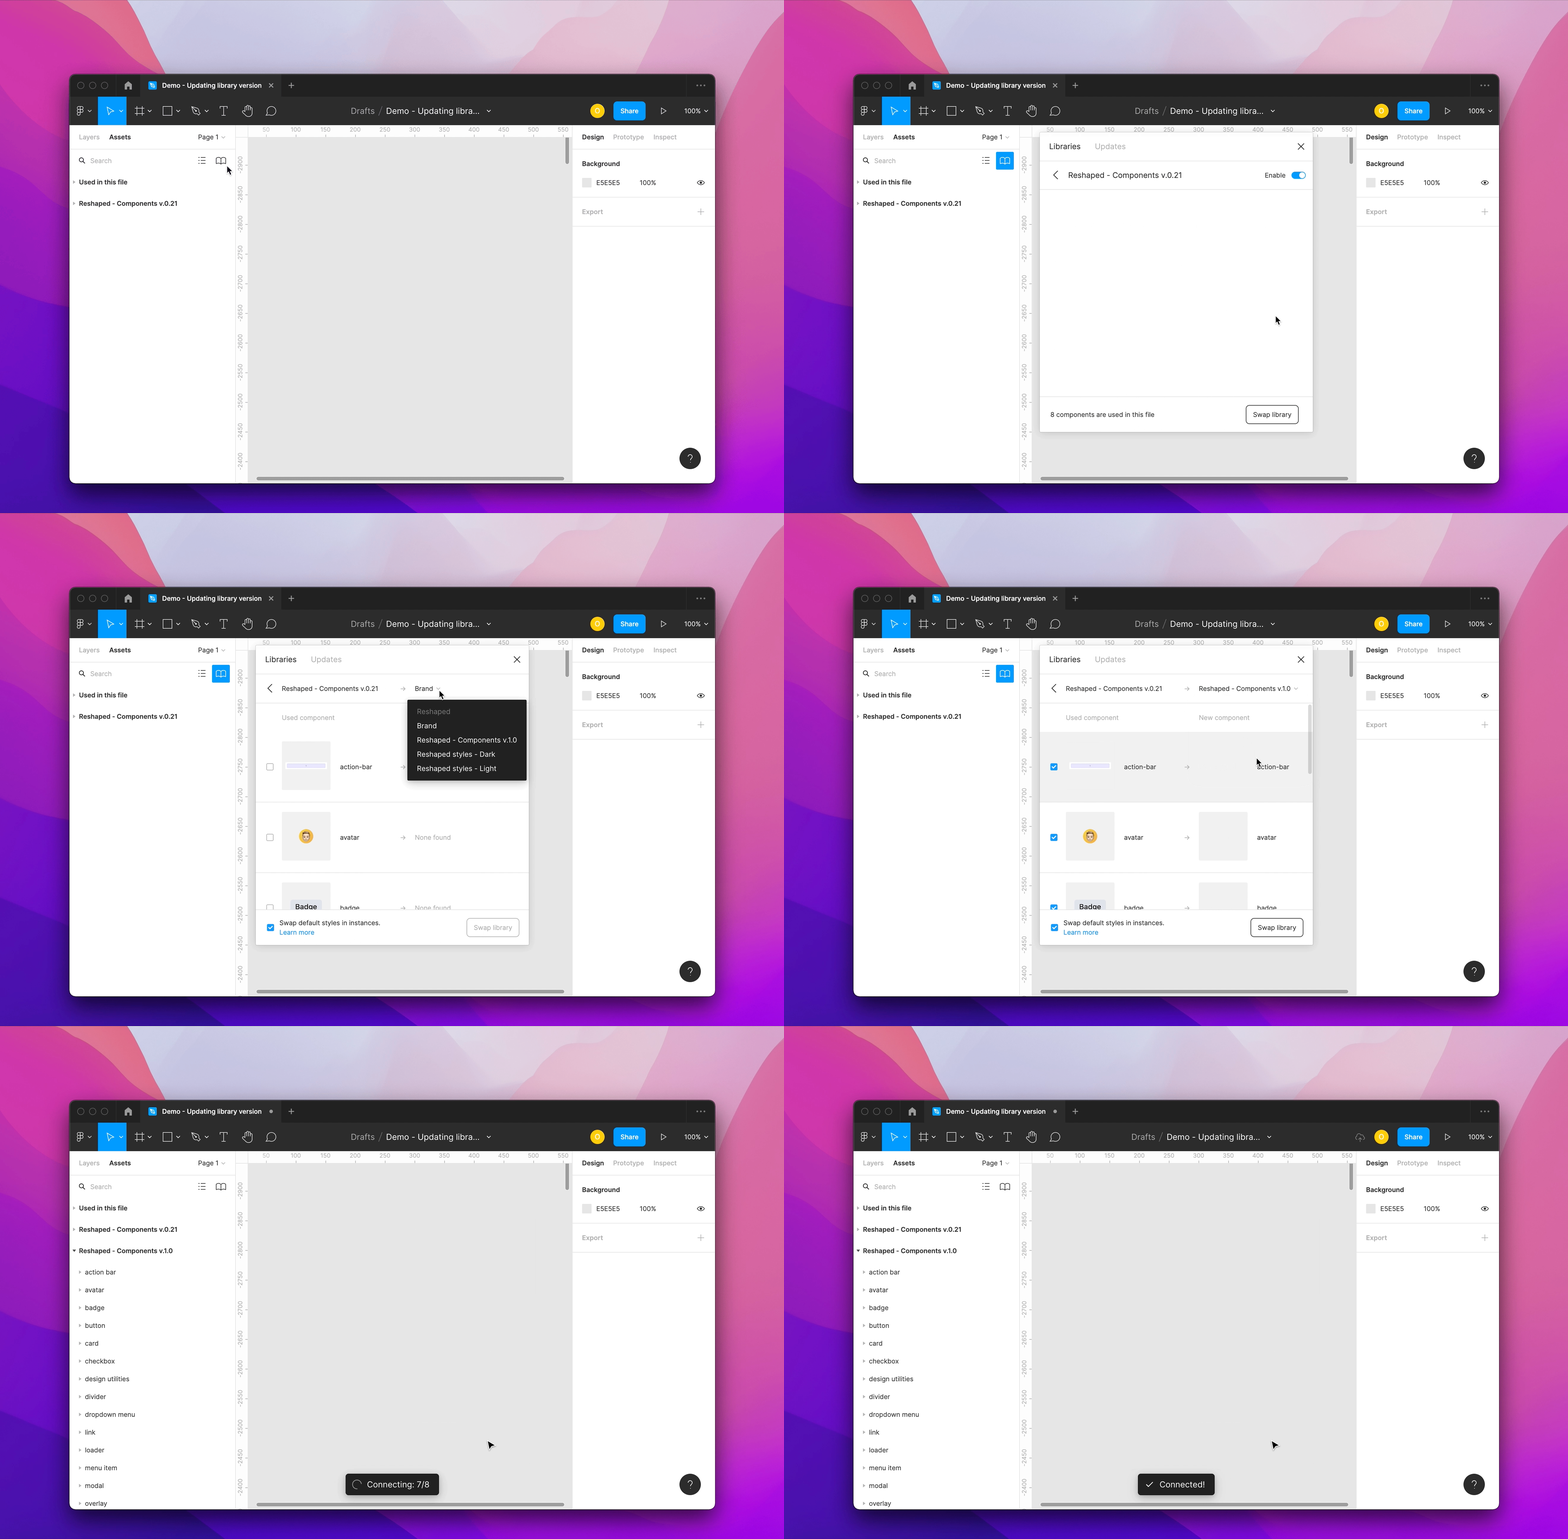
Every new Reshaped release comes with an updated Figma component library. Follow these steps to upgrade to the latest version:
- Download Figma's latest component library: the library name includes the version number for your convenience.
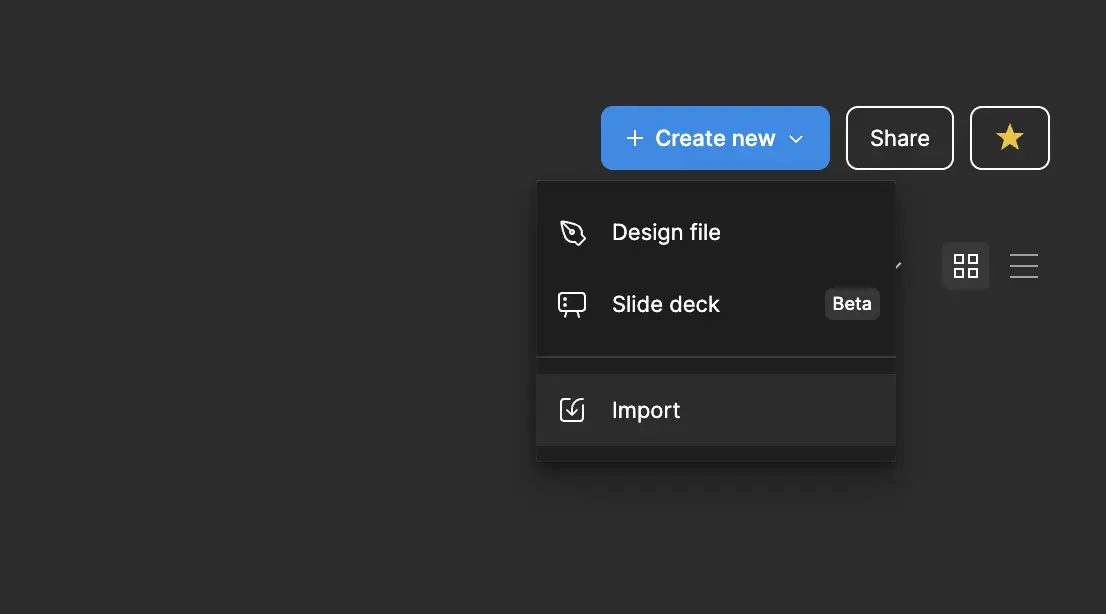
- Upload it to your project.
- Go to files that use the previous component library.
- Go to the Assets tab and open the Libraries modal.
- Find and select the previous component library.
- Select "Swap library" and choose the latest component library from the list.
